AI Avatar Lip Sync: Realistic Talking Avatar From One Photo
Last updated: 24 September 2026
By Greg Preece
I test AI video tools for creators and marketing teams, and I regularly compare avatar + lip sync workflows to see what actually looks believable on camera.
TL;DR
- Use HeyGen’s Image-to-Video workflow (powered by Avatar IV) to make a photo talk.
- The two biggest quality killers: low-resolution photos and low-quality audio.
- If you want a mostly-still headshot, pick the faster render option; if you want more motion, pick the quality-focused option.
- For better mouth shapes, use a photo with a clear face—and (in my testing) teeth visible helps.
Prefer to watch? Here’s the video. Prefer to skim? The full breakdown is below.
Quick link
Try it here: Try HeyGen →
Table of contents
- What this is and who it is for
- What you can make with this workflow
- [Step-by-step: AI avatar lip sync from a single photo](#step-by-step-ai-avatar-lip-sync-from-a-single-photo)
- What I tested and what I found
- How to make a fictional AI influencer talk
- Troubleshooting: why your lip sync looks wrong
- FAQ
What this is and who it is for
This is a practical workflow for getting realistic AI avatar lip sync from a single photograph using HeyGen’s image-to-video feature set (the transcript calls it “photo to video” and “Avatar 4,” which maps to HeyGen’s Avatar IV naming).
It’s for creators and teams who want a talking-head style clip without filming—either a digital “clone” of a real person or a fully fictional character.
What you can make with this workflow
You’ve basically got two outcomes:
-
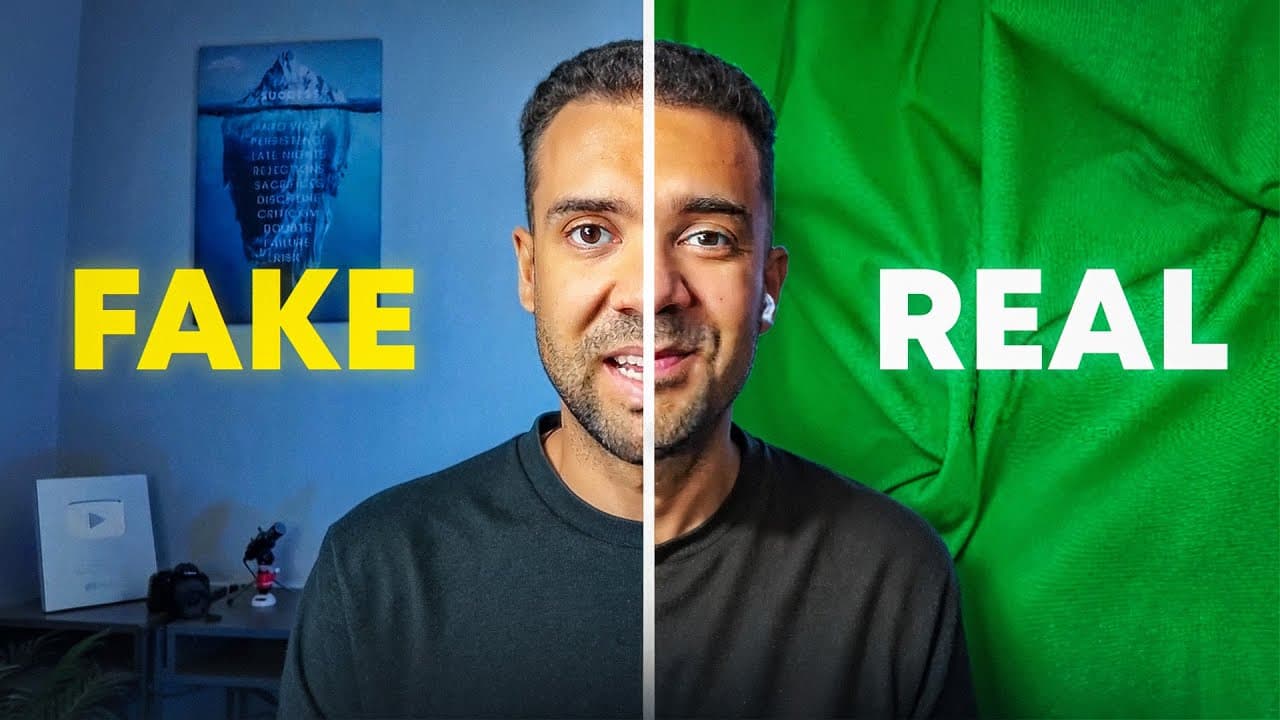
A photoreal “digital twin” from one photo
You upload a real headshot and generate a talking clip with natural mouth movement, blinking, and subtle facial motion. -
A fictional “AI influencer”
You upload an AI-generated portrait and make that character deliver lines like a real person on camera.
 Caption: Side-by-side real vs generated avatar.
Step-by-step: AI avatar lip sync from a single photo
Step 1: Open image-to-video and upload a photo
In HeyGen, go to the area labeled along the lines of Image to Video / Photo to Video (that’s the part you clicked in the demo).
- Open the image-to-video / photo-to-video tool.
- Upload a photo of the person/character you want to animate.
- Make sure the face is clearly visible (frontal-ish, not heavily occluded).
 Caption: HeyGen's image-to-video upload screen.
Step 2: Pick a photo that lip-syncs well
This is the first “gotcha” you discovered the hard way.
What you did first: you uploaded a random phone photo of yourself.
What happened: the results weren’t great because the input image quality was too low.
Use these photo rules (based on what you tested in the video):
- High-resolution, sharp face (avoid blurry or heavily compressed images).
- Good lighting (clear separation of facial features).
- Teeth visible helps (in your tests, showing teeth improved mouth realism).
- Avoid extreme angles where the mouth and jawline are partially hidden.
If your avatar looks “off,” don’t tweak settings first—swap the photo first.
 Caption: The kind of clear, well-lit face framing recommended (sharp, close, teeth visible).
Step 3: Add your script or upload audio
In the audio area, you showed two paths:
Option A: Type text + pick a voice
- Type your script into the text box.
- Choose a preset voice that matches your character.
- Preview the voice before generating.
Option B: Upload your own audio file
- Record your line.
- Upload the audio file.
- The lip sync matches the timing and phonemes from your recording.
Your second “gotcha” was audio quality: you said you got mixed results when uploading your own voice, and the bad outputs correlated with low-quality audio.
Practical audio checklist (based on your testing):
- Record cleanly (minimal background noise).
- Avoid muffled phone-in-pocket audio.
- Keep the spoken pacing natural (not rushed, not slurred).
 Caption: The text input + voice selection area where you preview voices before generating.
Step 4: Choose movement and export settings
You described a key tradeoff:
- A faster render option focuses more on lip movement + small facial muscles.
- A quality-focused render option adds more overall motion, including more noticeable body/head movement.
So your choice depends on the look you want:
- Want a mostly still talking-head? Choose the faster option.
- Want a more animated performance? Choose the quality-focused option.
Then pick your export quality (you kept it at 1080p in the demo) and generate.
 Caption: The settings area where you choose between “more movement” vs “more still” behavior and set export quality.
What I tested and what I found
Here’s the “real world” learning you called out in the video:
- Low-res photo = weak realism. Swapping to a sharper headshot immediately improved results.
- Teeth visible helped the mouth shapes look more convincing in your clone example.
- Low-quality audio breaks lip sync. When your audio recording wasn’t clean, the model got confused and the output suffered.
- Render mode changes the vibe. Faster kept the avatar more still; quality introduced more overall movement.
- Background motion can appear. In your AI-influencer example, you noticed even background people in the image appeared to move.
How to make a fictional AI influencer talk
You also showed the “non-clone” use case: upload an AI-generated portrait (you used Google Gemini to create the image) and animate it the same way.
Workflow:
- Generate or source a portrait image of your fictional character.
- Upload it into HeyGen’s image-to-video tool.
- Type a short line of dialogue (or upload audio).
- Choose the quality-focused render option if you want more motion.
- Add simple motion direction text if available (you used a head movement instruction).
This is especially useful when you want:
- A consistent “host” character for a niche channel.
- An on-brand spokesperson for short ads.
- A character-led series where you don’t want a real face attached.
 Caption: The generated character talking on screen, demonstrating that AI-made portraits can be animated like real headshots.
Troubleshooting: why your lip sync looks wrong
If your output looks uncanny or “off,” these are the highest-leverage fixes (all supported by what you observed in the demo):
- The mouth looks mushy or inaccurate
- Swap to a higher-resolution photo with clearer mouth/teeth detail.
- The timing feels wrong
- Replace the audio with a cleaner recording (less noise, less echo).
- The face moves too much
- Use the faster render option so motion stays mostly in lips/face.
- The character is too still
- Use the quality-focused render option and add simple movement instructions.
FAQ
What photo works best for AI avatar lip sync?
A sharp, well-lit headshot with a clear view of the mouth. In my testing, a photo with teeth visible produced better-looking mouth shapes.
Should I type text or upload audio?
Typing text is the quickest way to test voices. Uploading audio is great when you need your exact delivery—but only if the recording is clean and high quality.
Why does my avatar look realistic in one clip and bad in another?
In the workflow you showed, the biggest swing factors were input quality: low-res photos and low-quality audio created noticeably worse outputs.
Can I do this with a completely fake AI character?
Yes—your demo showed an AI-generated portrait can be uploaded and animated the same way as a real person’s headshot.