Image To Lip Sync AI: Make Any Photo Talk Fast
Last updated: February 2026
Author: Greg Preece — I review AI video tools for creators and marketing teams, focusing on what’s practical, fast, and repeatable.
TL;DR
- Use HeyGen → Photo to Video (Avatar IV) to turn a single image into a lip-synced talking clip.
- You can drive the speech with typed text (TTS) or your own uploaded audio.
- The biggest “make it feel alive” lever in this workflow is Faster vs Quality (Quality tends to add more movement).
Prefer to watch? Here’s the video. Prefer to skim? The full breakdown is below.
Quick link
Try it here: Try HeyGen →
Table of contents
- What this workflow does
- Step-by-step: image to lip sync video
- Advanced tips to make it more energetic
- What i tested and what i found
- Common issues and quick fixes
- FAQ
What this workflow does
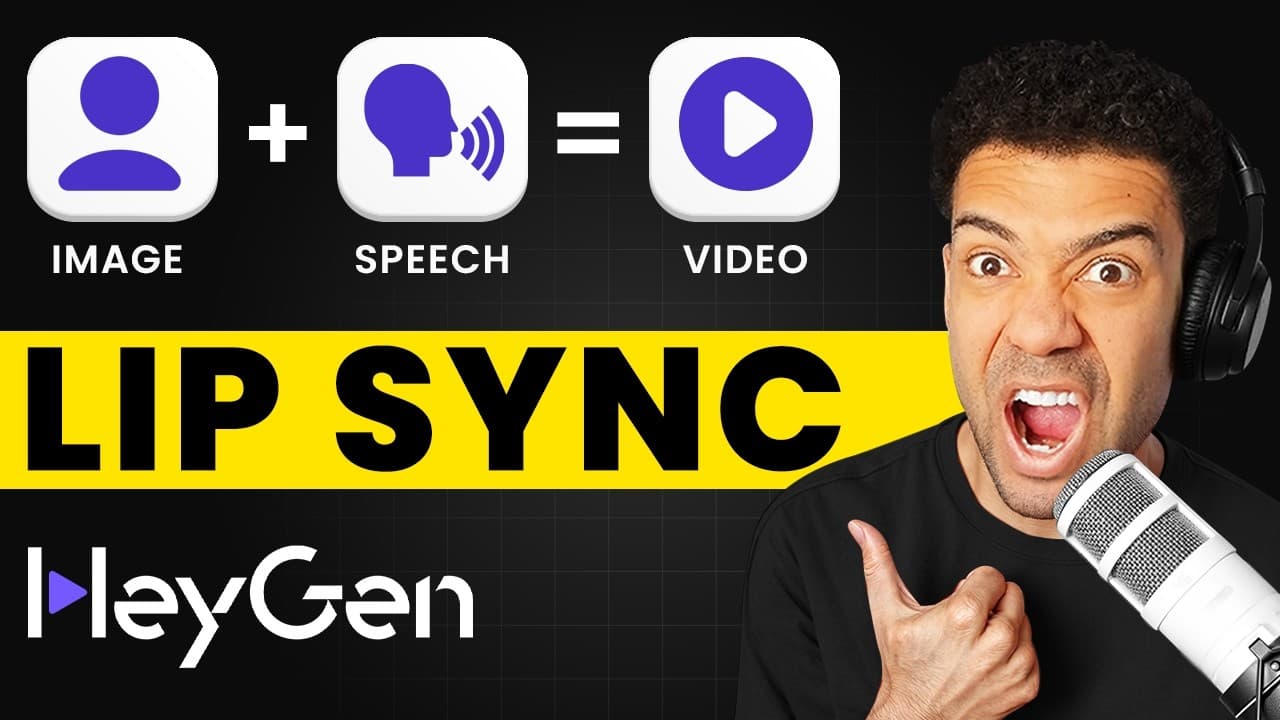
This is the “make any photo talk” workflow: you upload a face image, choose portrait or landscape, then drive the talking with either typed text (text-to-speech) or your own audio.
It’s for:
- creators making quick reactive content (talking memes, historical portraits, character bits)
- marketers wanting fast “talking head” variants from stills
- anyone who wants lip-sync without filming
Step-by-step: image to lip sync video
1) Open photo to video with avatar iv
In HeyGen, the workflow shown in the transcript starts from the feature that turns a photo into a realistic talking clip (Avatar IV).
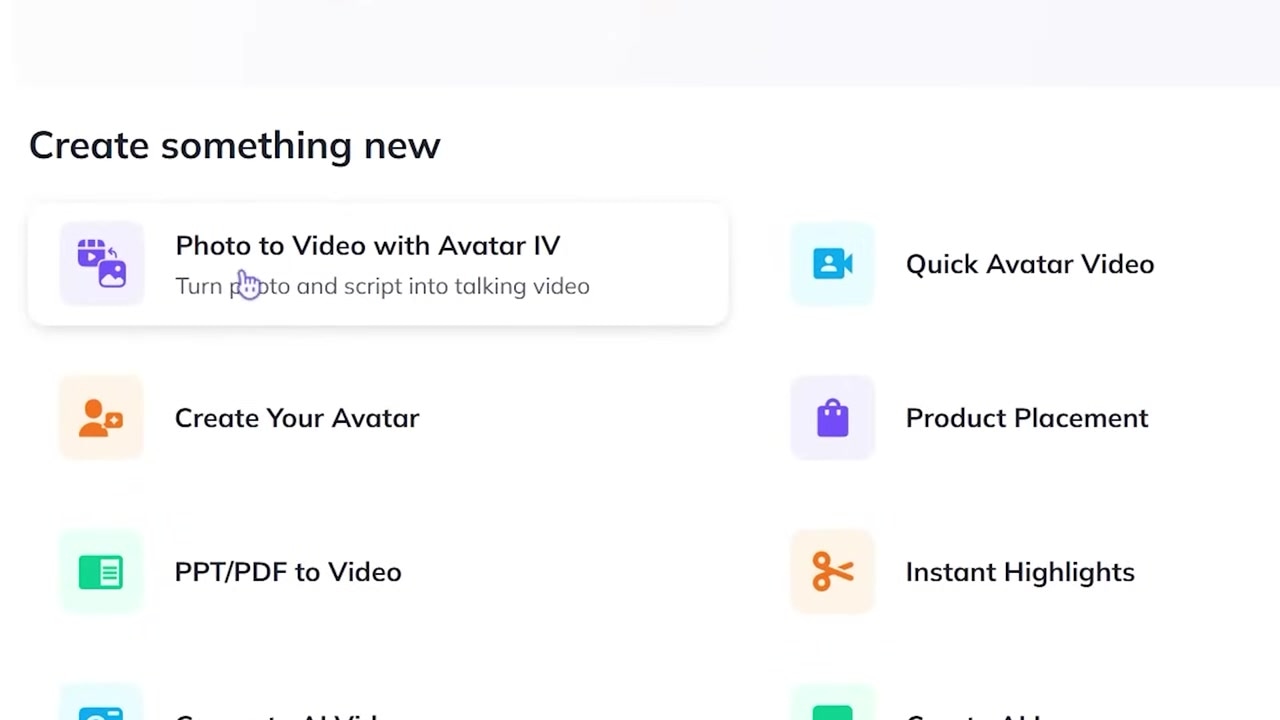
Caption: Look for the Photo to Video option powered by Avatar IV.
2) Upload and frame your photo
- Upload the photo you want to animate.
- Choose portrait or landscape output.
- Decide whether the photo should fill the frame or keep its original scale.
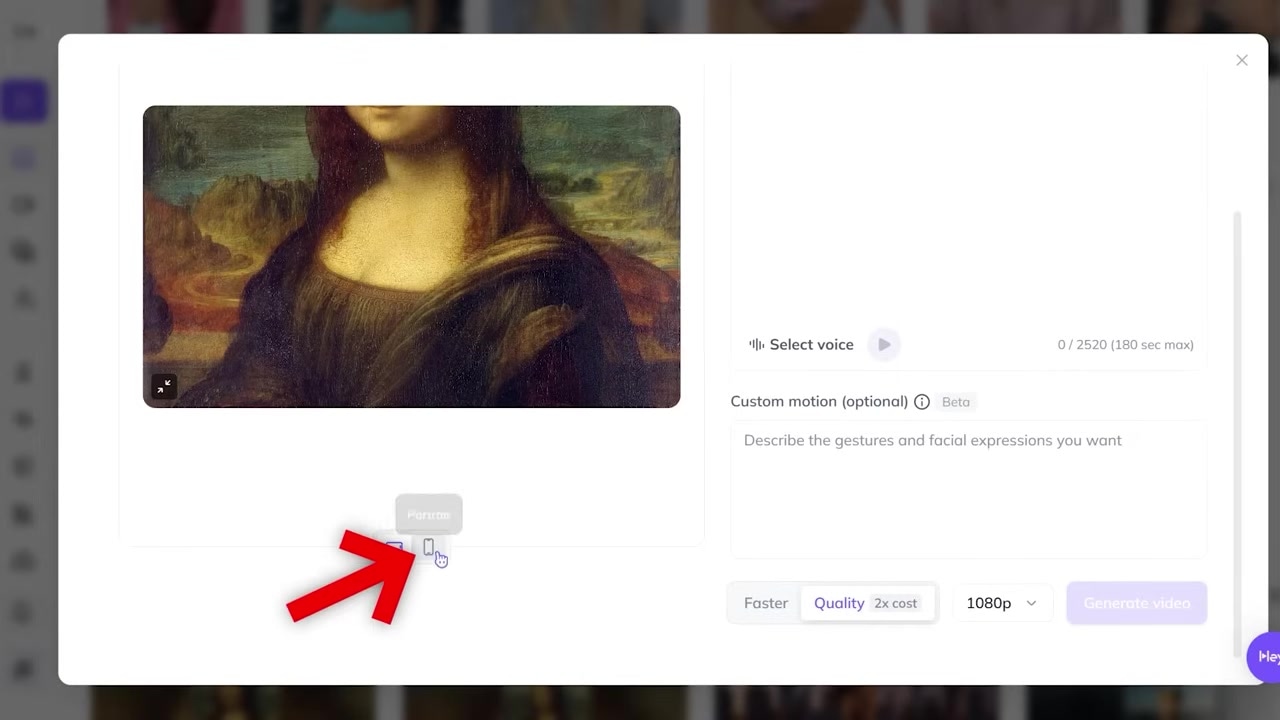
Caption: The aspect ratio choice changes how your photo is cropped and framed.
3) Add the speech: text or uploaded audio
You have two ways to drive the lip sync:
- Type a script: the tool generates speech from your text using a selected voice.
- Upload audio: the tool makes the image speak whatever is in the audio file.
Practical tip: type the line first, hit play to preview the voice, and fix any wording mistakes before generating the video.
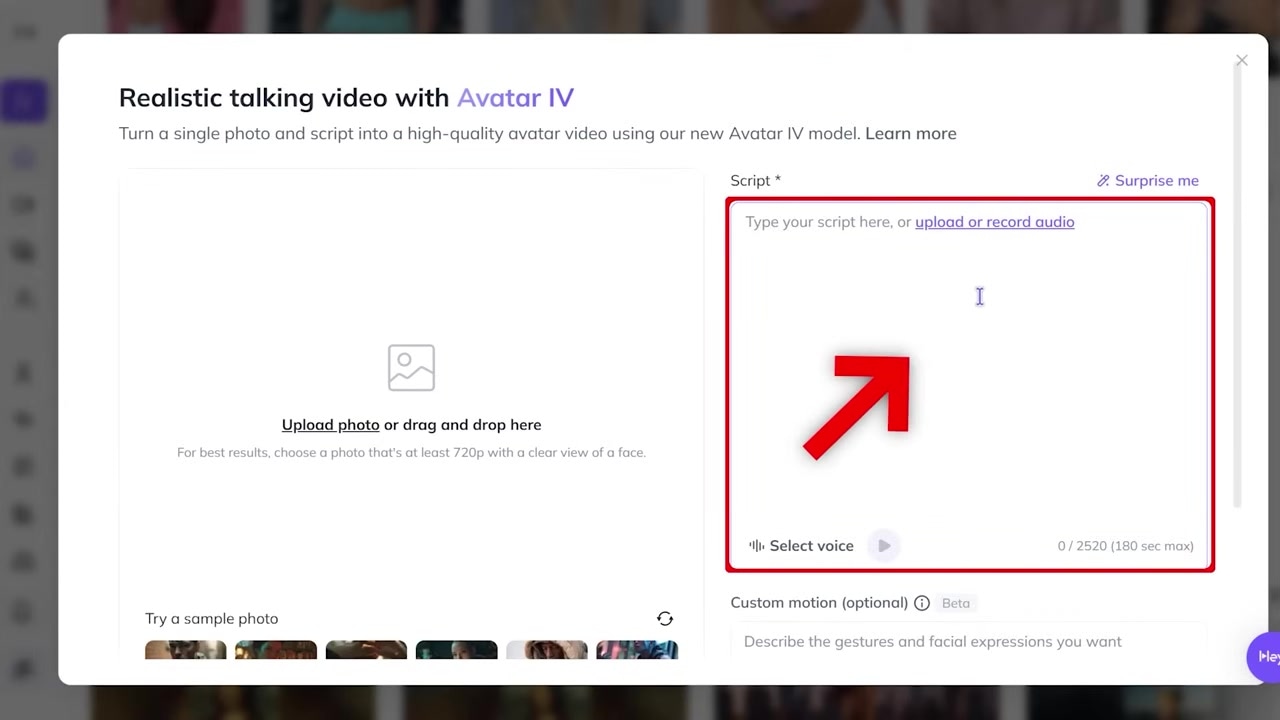
Caption: This is where you either type the line or upload your audio file.
4) Pick a voice or your voice clone
In the transcript demo, I:
- pick a preset voice,
- preview it,
- then switch voices because I didn’t like the first one.
You can also use voice cloning if you want the talking photo to sound like you (the UI shown suggests selecting a voice clone from the same voice picker).
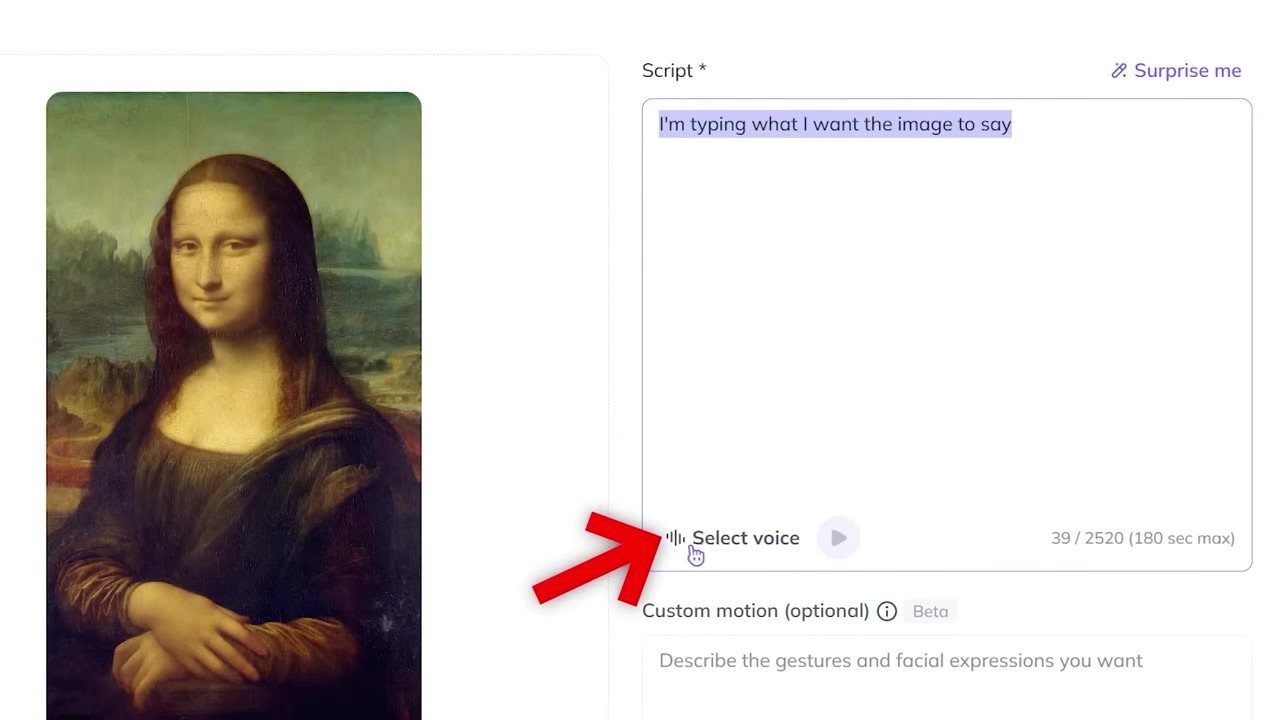
Caption: Preview voices before generating so you don’t waste runs.
5) Choose faster vs quality and add motion direction
This is the key “energy” control in the workflow I showed:
- Faster generation: lips look good, but the body tends to move less.
- Quality generation: lips still sync well, and the body tends to move more (more “alive” energy).
If you choose Quality, you can add a short direction line that nudges the motion, like:
- “Woman expressively nods her head.”
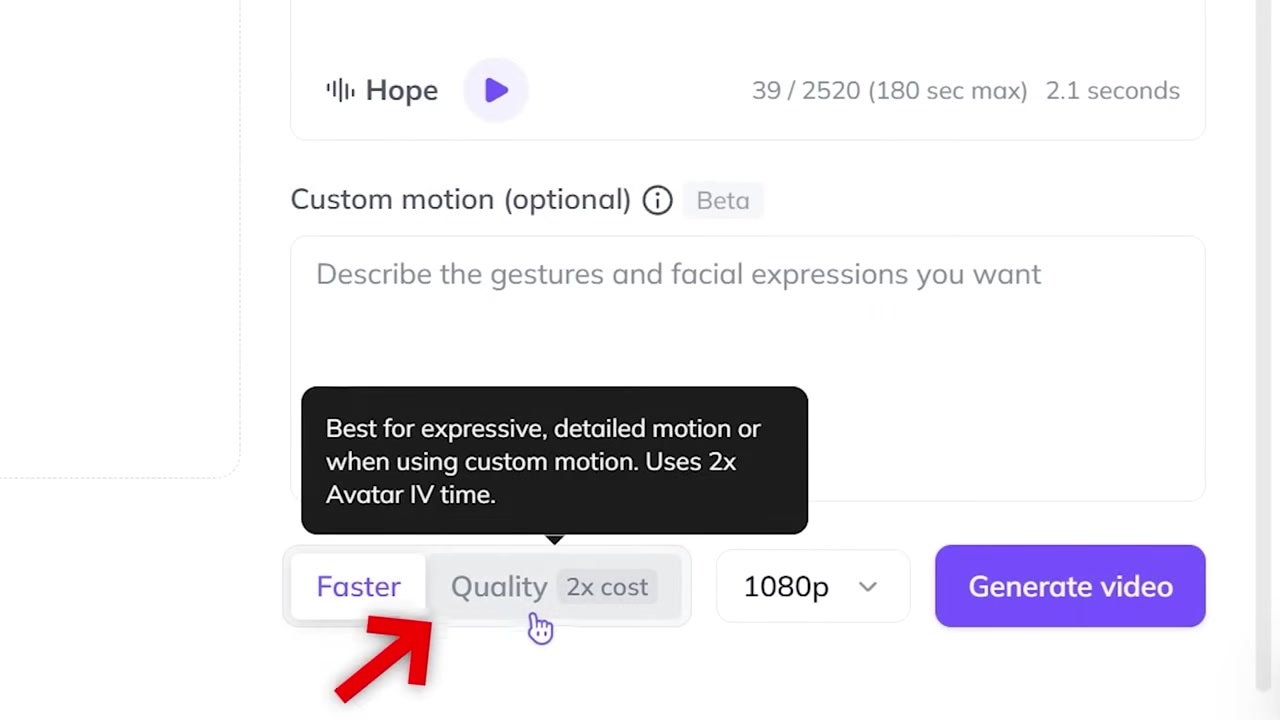
Caption: Quality mode is where you can push for more movement and energy.
6) Generate and iterate
- Generate one version.
- If it feels too static, switch to Quality and add a simple motion direction.
- If the voice feels wrong, swap voices and regenerate.
- Keep the script short and clear for the most natural lip sync.
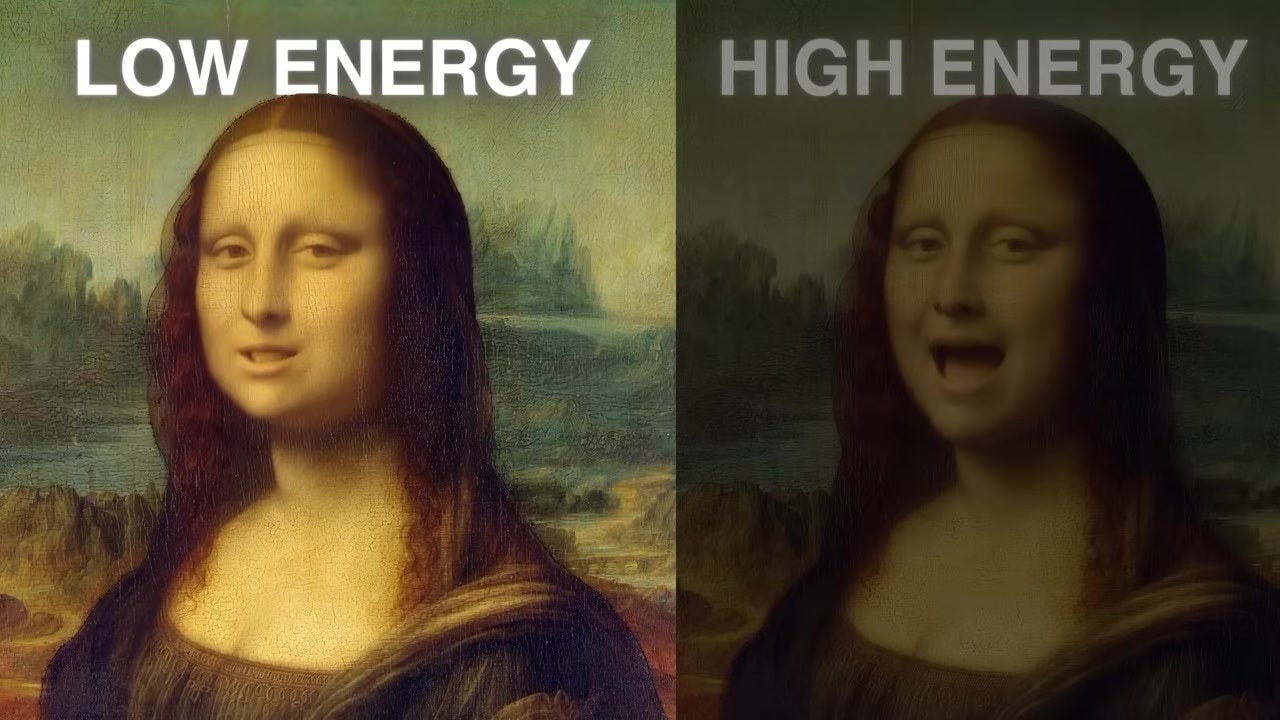
Caption: Compare versions to see how settings change movement and “energy.”
Advanced tips to make it more energetic
- Use Quality when you want “body energy.” If your result looks like a talking statue, this is the first switch to try.
- Give one motion instruction, not a paragraph. Short cues (“nods”, “smiles”, “leans in slightly”) are easier to follow than complex acting notes.
- Preview the voice before generating. If you don’t like the voice, change it early and save yourself repeats.
- Fix the script like it’s final voiceover. Small typos are obvious once a “serious” portrait is speaking.
What i tested and what i found
From the transcript demo:
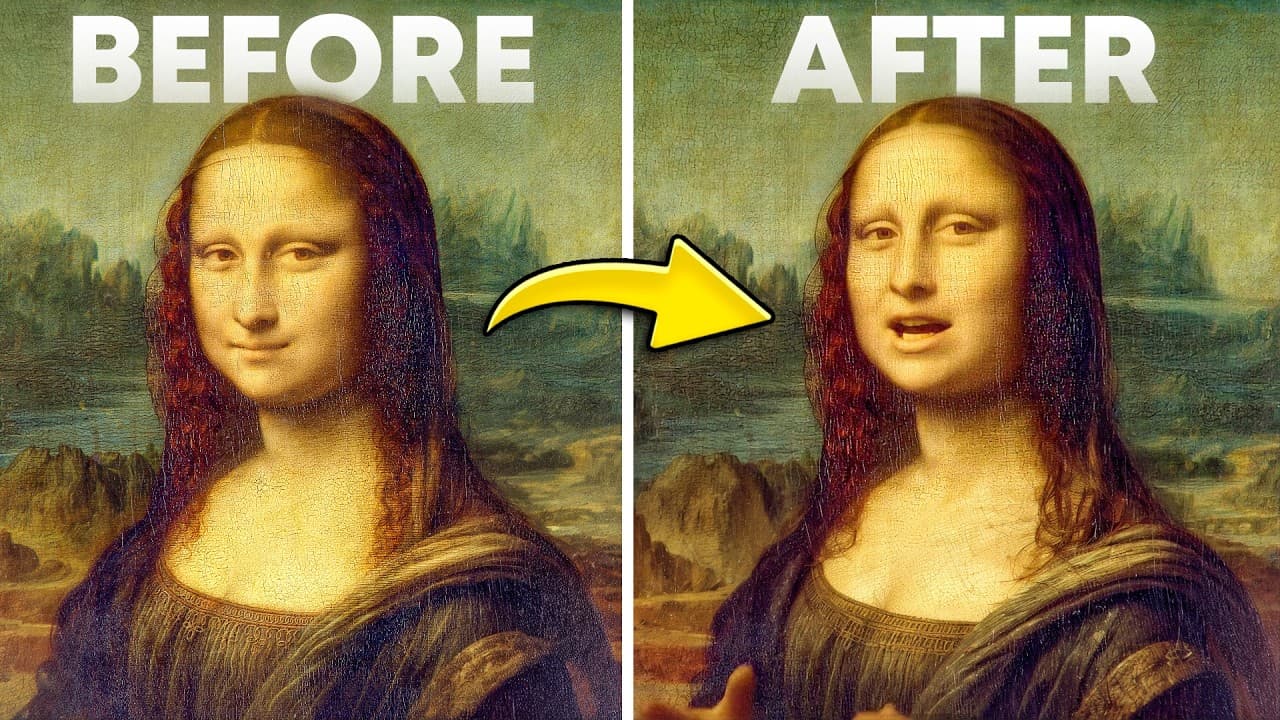
- I turned a Mona Lisa image into a talking clip by uploading the image, adding a short script, selecting a voice, and generating.
- I changed voices after previewing because the first voice didn’t fit.
- I compared “lower energy” vs “higher energy” results by switching generation mode and adding a simple motion direction.
The main takeaway: the workflow is simple, but the output quality is heavily influenced by that Faster vs Quality choice (and whether you add a short motion cue).
Common issues and quick fixes
-
Lip sync looks fine, but the image feels “dead.”
Switch to Quality and add a simple motion direction (nod, slight head turn, smile). -
The framing/crop looks wrong.
Re-check portrait vs landscape, and whether the image is set to fill the frame. -
The voice sounds off-brand or uncanny.
Preview multiple voices before generating, or try voice cloning if you need a consistent “you” sound.
FAQ
Can I use my own audio instead of typing text?
Yes — the workflow shown supports uploading an audio file to drive the lip sync.
Do I have to use a preset voice?
No — the voice picker shown includes the option to use a cloned voice (if you’ve created one).
Why does “Quality” look more alive?
In my demo, Quality kept the lip sync solid and added more body movement compared to Faster.
Is it free? What does it cost?
In the video, I mention I believed there’s a free way to try it, and that ongoing use may require a higher-tier plan. Pricing and access change often, so verify current details on HeyGen before committing.
If you want to try the same “image to talking video” workflow I used: Try HeyGen →