I Tested How to Make an AI Film: My SIVS Workflow
Last updated: 29 September 2026
Author: Greg Preece — I test AI video tools hands-on to help creators get movie-studio results without the Hollywood budget.
Most content creators believe making a cinematic AI film is incredibly difficult and requires juggling multiple high-cost tools. In this step-by-step guide, I will show you how to apply the SIVS method to easily script, animate, and sound-design your own short AI movie using an affordable all-in-one platform.
Quick Summary
If you want to make a cinematic AI film without a massive budget or a complex multi-app pipeline, the SIVS method simplifies the process into four steps: Script, Images, Videos, and Sounds. By combining ChatGPT for scripting and AIVideo for all-in-one generation, you can write, animate, voice, and edit full-length cinematic clips inside a single, intuitive interface.
Prefer to watch? Here's the video. Prefer to skim? The full breakdown is below.
Quick Link
- Try it here: Try AIVideo → (Use code gpvideo for 20% off!)
Table of Contents
- What is the SIVS Method?
- Step 1: Write Your Script with ChatGPT
- Step 2: Generate Cinematic Key-Frame Images
- Step 3: Animate Your Images into Realistic Video Clips
- Step 4: Generate Voiceovers, Sound Effects, and Music
- Step 5: Assemble Everything in the Timeline
- How to Write Cinematic Prompts
- Frequently Asked Questions
What is the SIVS Method?
The SIVS method is a streamlined workflow designed to make AI filmmaking highly structured and accessible. It stands for:
- Script: Creating a detailed three-act structure.
- Images: Generating key-frame visuals of your scenes.
- Videos: Animating those static images into realistic shots.
- Sounds: Adding voiceovers, immersive sound effects, and music.
Instead of paying hundreds of dollars for multiple separate AI subscriptions (like Google's Veo 3.1 on the Google AI Ultra plan at $99.99/month), we will use ChatGPT to plan and a single powerful, low-cost platform—AIVideo—to generate and compile the entire film.
Step 1: Write Your Script with ChatGPT
Every great film starts with a story. In the past, writing a polished script could take weeks. Today, you can brainstorm with ChatGPT for free to structure a solid storyline in minutes.
How to Write Your Film Prompt
- Open ChatGPT and write down your basic storyline ideas (even vague ones work).
- Ask ChatGPT to generate a detailed three-act script with dialogue, locations, and shot lists.
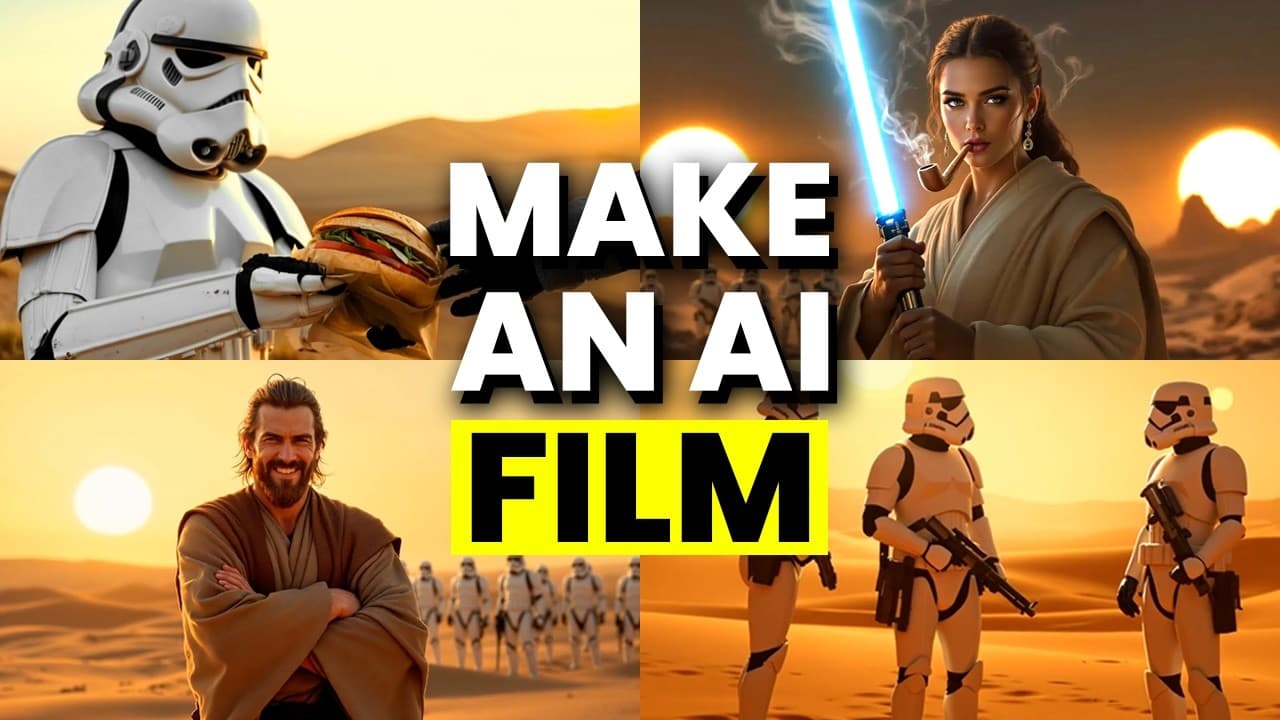
For my Star Wars-inspired film, I used a specific structural prompt to generate the acts and character dialogue. This forms the foundation for the rest of your visual and audio generations.
 Caption: ChatGPT generates a detailed three-act script complete with characters, dialogue, and location details based on simple ideas.
Step 2: Generate Cinematic Key-Frame Images
Once your script is ready, you need to establish the visual style of your film. This is where we transition into the video production tool. We’ll generate key-frame images representing the major moments from the script.
Generating Your First Visuals
- Log into AIVideo and open the image generator.
- Enter your scene description in the prompt box (for example, my prompt described a realistic female Jedi with a lightsaber).
- Select the Flux 1.1 Ultra image generator—it is highly detailed and incredibly realistic.
- Set the image orientation to landscape.
- Click Generate.
Within seconds, you’ll have a high-resolution, cinema-grade key frame that establishes your movie's aesthetic.
 Caption: Inside AIVideo, generating a highly detailed, cinematic landscape image using the Flux 1.1 Ultra model.
Step 3: Animate Your Images into Realistic Video Clips
Static images don't go viral—we need motion to breathe life into the film. Moving from image to video inside a single platform keeps your characters and scenery highly consistent.
The Image-to-Video Workflow
To transform your key frame into a cinematic shot:
- Right-click the visual you just generated in AIVideo.
- Select Generate video from image.
- In the model dropdown, select the newest Kling model available, which is Kling 3.0 at the time of writing, as this is the underlying technology powering some of the most viral AI videos online.
- Set the orientation to landscape.
- Adjust the duration to 10 seconds to get longer, more expressive shots.
- Enter a video-motion prompt detailing what happens next, and click Generate.
If you notice minor glitches or unnatural motions, simply click regenerate to get a clean, polished shot.
 Caption: Right-click your generated image and choose "Generate video from image" to open up the video generator settings.
 Caption: Select the Kling 2.0 Master model and set the video length to 10 seconds for professional-grade character motion.
Step 4: Generate Voiceovers, Sound Effects, and Music
A silent AI video feels flat and clinical. To bring your movie to life, you need sound layers: natural voice acting, contextual sound effects, and a fitting background score.
Adding Audio Layers
AIVideo includes built-in audio generators, meaning you don't need to exit the platform to compile your sound design.
- AI Voiceovers: Navigate to the Voiceover section, select a voice (I chose "Bill"), paste in the dialogue written by ChatGPT, and generate.
- Sound Effects (SFX): Head to the sound effects panel and search for whatever you need (e.g., "lightsaber humming" or "ambient wind").
- Background Music: Click the music search bar and look up preloaded cinematic tracks (I selected a dramatic background track called "Buried") to drag into your library.
 Caption: Creating a custom voiceover in the voiceover panel, selecting pre-made voices like Bill and typing dialogue.
Step 5: Assemble Everything in the Timeline
With all your visual and audio assets generated, it’s time to edit. You don’t need to export these elements into heavy desktop software like Premiere Pro or DaVinci Resolve.
Compiling on the Timeline
Inside AIVideo, there is a built-in multi-track timeline editor.
- Locate your generated video clips, voiceovers, and sound effects inside your library.
- Drag and drop them one by one onto the timeline tracks.
- Trim, align, and sync the audio clips (like lightsaber hums and voiceovers) directly to the visual triggers in your animated videos.
- Preview the project and export your final film.
 Caption: The multi-track timeline allows you to drag, drop, and edit your generated video, music, and sound effects all in one place.
How to Write Cinematic Prompts
Your final movie is only as good as the prompts you write. Standard, beginner-level prompts yield flat, artificial looks. To get high-end cinematic visuals, you need a structured prompting strategy that controls camera angles, lighting styles, and realistic textures.
Make sure to study successful cinematic prompt examples or follow a multi-step prompting framework to ensure you aren't wasting generation credits.
Try it here: Try AIVideo → (Get started with 20% off your subscription)
Frequently Asked Questions
What does the SIVS method stand for?
The SIVS method stands for Script, Images, Videos, Sounds. It is a structured, four-step production process designed to make AI filmmaking simple, logical, and highly repeatable.
Do I need multiple subscriptions to make an AI movie?
No. While many creators juggle subscriptions for image generators, video animators, voice tools, and video editors, you can do everything in one place. Using a platform like AIVideo allows you to generate images, videos, voiceovers, sound effects, and music, and edit them on a single unified timeline.
How do I prevent glitches in AI video generation?
AI video generators can occasionally produce unnatural artifacts. The best way to deal with this is to keep your video prompts focused, use advanced underlying models like Kling 3.0, and simply run regenerations if a clip has a visual error.