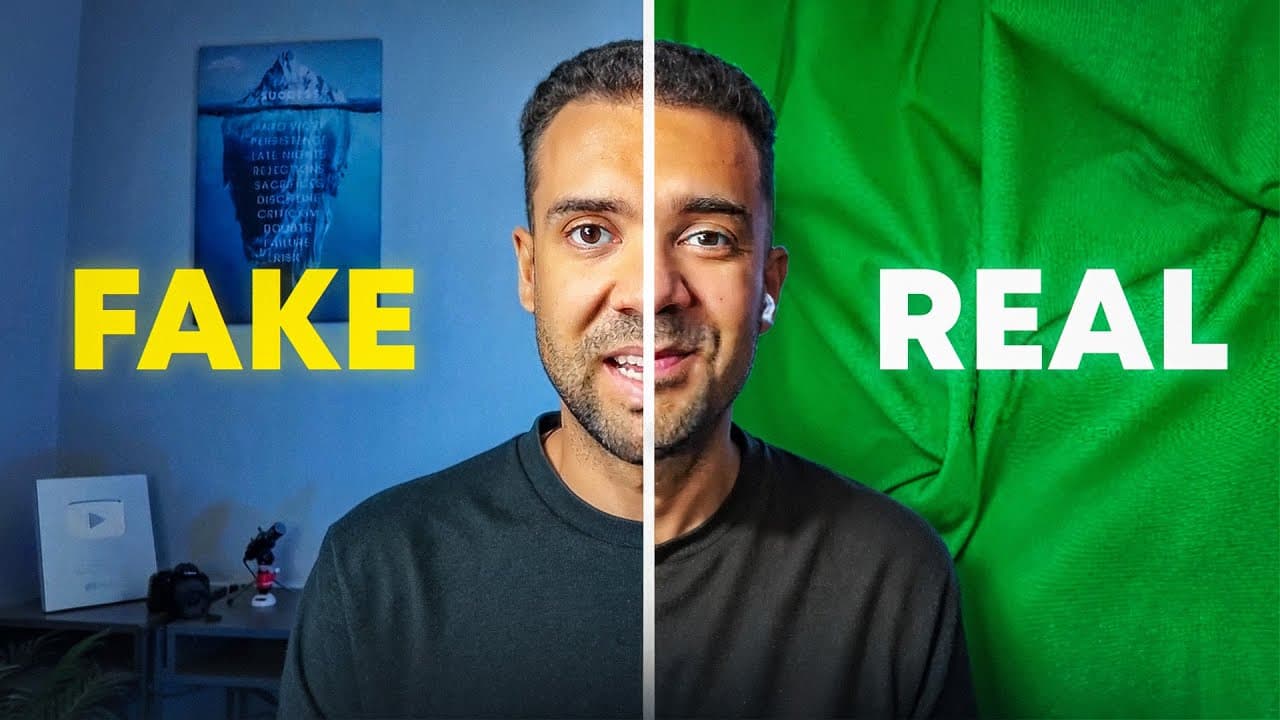
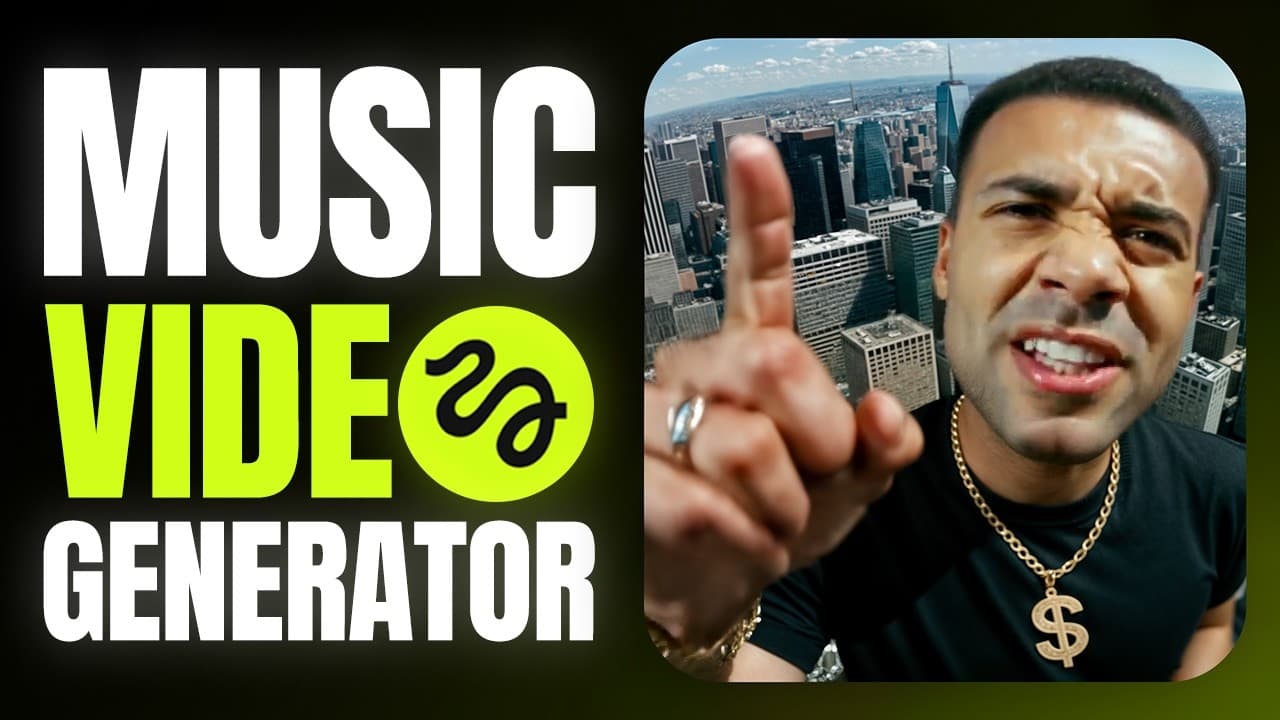
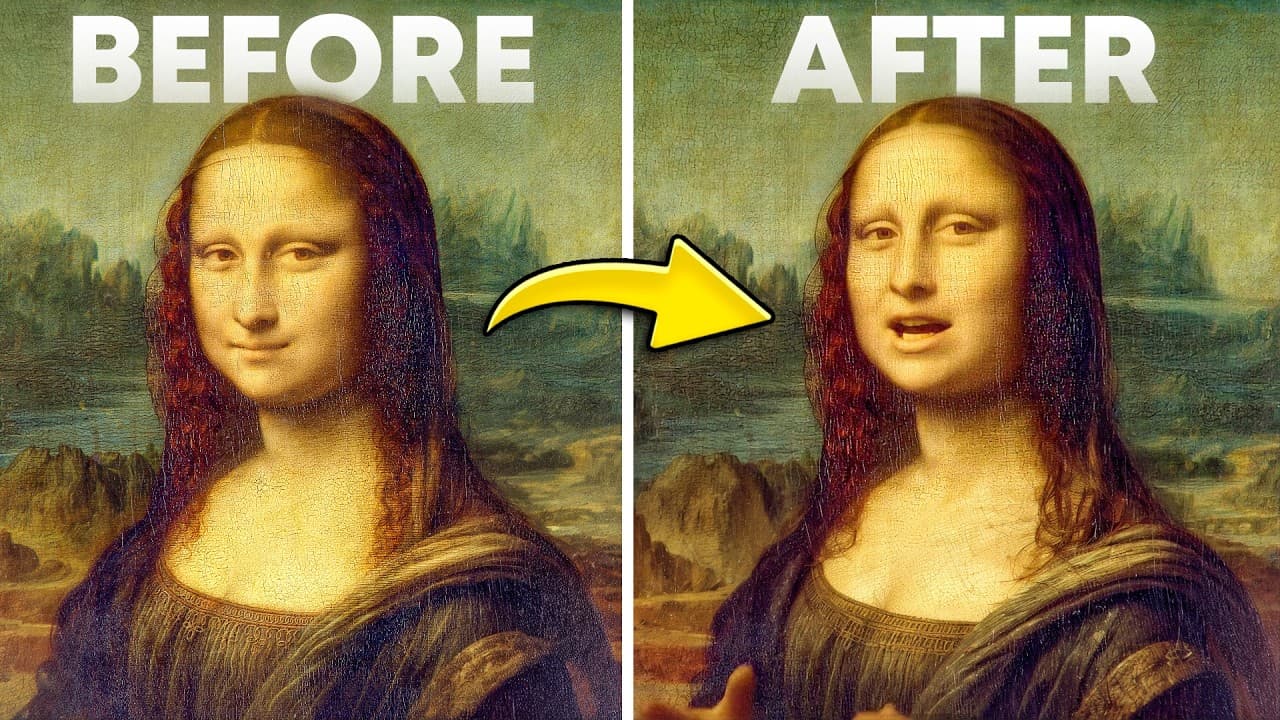
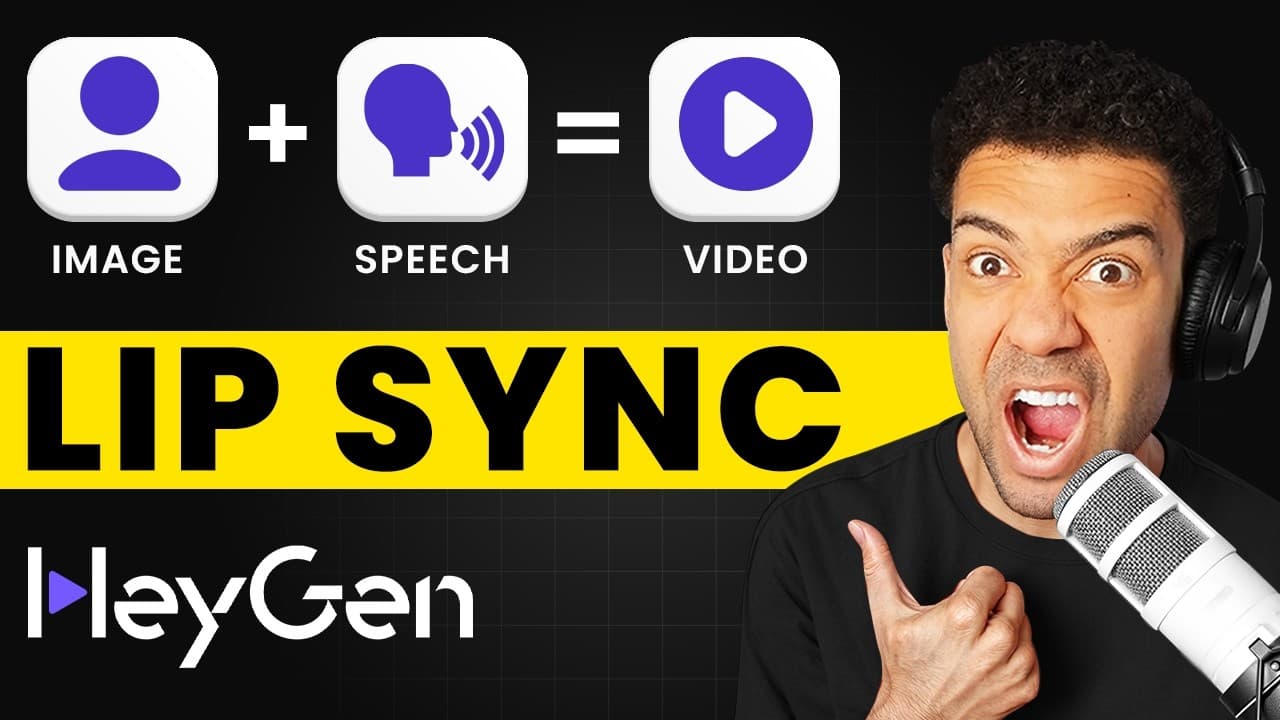
How I Create a Lip Sync Video from a Photo Using HeyGen Avatar IV
Last updated: July 2026
Author: Greg Preece — I test AI video tools hands-on to help creators and marketers find the most realistic and efficient workflows.
Creating realistic talking videos no longer requires a camera, studio space, or expensive actors. In this guide, I will show you how to turn any static image into a lifelike presenter in under two minutes using the latest AI technology. Whether you want to animate personal photos, generate high-converting ads, or bring fictional characters to life, you can achieve near-flawless voice-to-mouth synchronization with just a few clicks.
TL;DR: Turn Images into Talking Videos Instantly
- The Tool: HeyGen Avatar IV is a next-generation diffusion-inspired AI engine designed to generate highly realistic lip-sync and facial expressions from a single photo.
- The Process: Upload a high-resolution photo, provide a script or voice recording, configure your custom gesture prompts, and generate a 1080p video.
- Standout Features: Outstanding handling of extreme profile angles, partially obstructed faces, and stylized artwork (such as 1930s photographs or fantasy characters).
- Key Pro-Tip: Disable the "Turbo" mode to unlock maximum facial movement, micro-expressions, and natural head tilts.
Prefer to watch? Here's the video. Prefer to skim? The full breakdown is below.
Quick Link
Try it here: Try HeyGen →
Table of Contents
- Why HeyGen Avatar IV Is a Game Changer
- How to Create a Lip Sync Video from a Photo (Step-by-Step)
- 4 Profitable Ways to Monetize AI Talking Avatars
- Frequently Asked Questions
Why HeyGen Avatar IV Is a Game Changer
I spent two weeks thoroughly testing every capability of HeyGen’s Avatar IV engine, and the results are incredibly impressive. Traditional talking photo tools often yield robotic, stiff, and unnatural results. However, this model automatically generates natural gestures, full-body micro-movements, eyebrow shifts, and subtle smiles that make the avatar feel genuinely human.
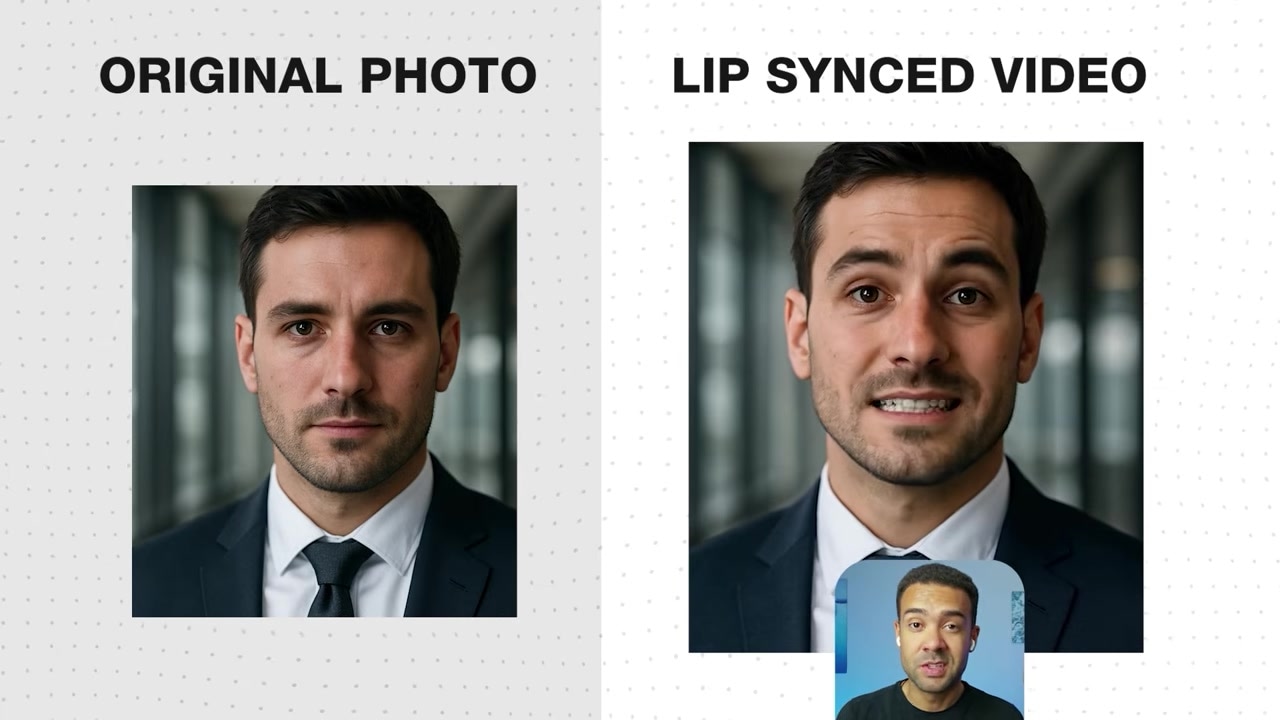
Caption: The AI avatar displays realistic micro-expressions, including eyebrow movements and a natural smile, from a single flat image.
In my testing, I wanted to push the boundaries of this technology to see where it would break. Here are three major breakthroughs I observed:
- Extreme Profile Angles: I uploaded a photo taken at a dramatic side angle where the mouth was barely visible. Normally, this breaks standard lip-sync software. Avatar IV analyzed the facial structure and mapped a perfect mouth movement onto the side profile effortlessly.
- Facial Obstructions: I tested an image where hands and an object partially covered the subject's chin and mouth. The AI intelligently generated realistic lip-sync around the obstruction without distorting the visual boundaries.
- Stylized and Historical Artwork: The engine is not limited to modern, brightly-lit selfies. I tested a black-and-white 1930s-style photograph and brought it to life in crystal-clear 1080p HD, showcasing its utility for historical preservation and creative storytelling.
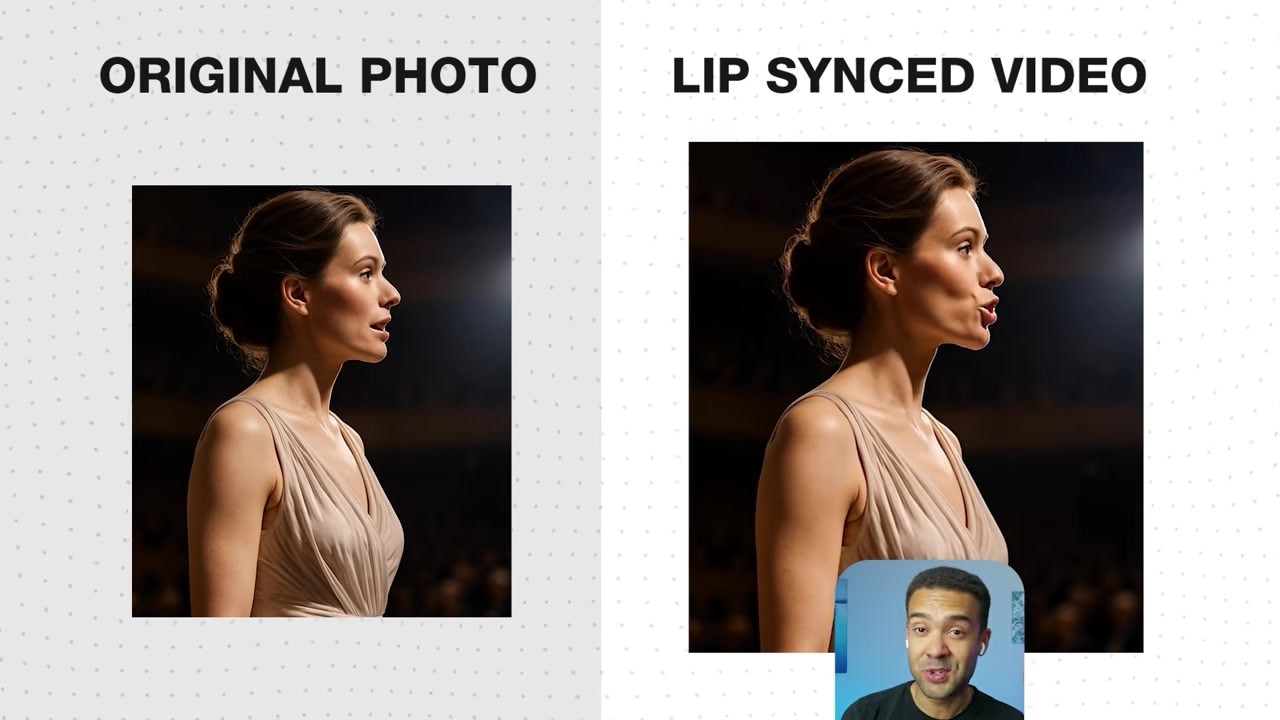
Caption: Testing a steep profile angle. The AI successfully generated natural mouth movements despite the limited visibility of the face.
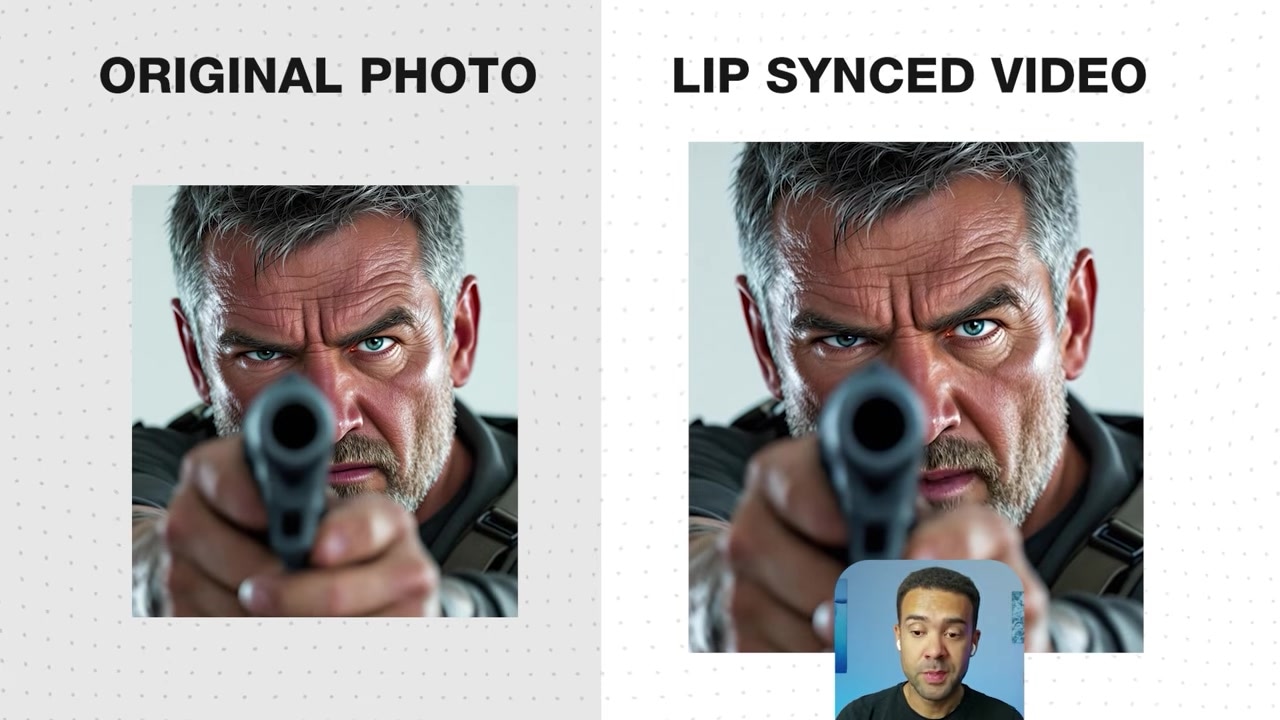
Caption: The AI successfully isolates the obstructing hand and generates lip movements underneath and around the object.
How to Create a Lip Sync Video from a Photo (Step-by-Step)
Creating your own talking video takes less than two minutes. Follow this straightforward workflow to configure the avatar, upload your audio, and maximize facial expressions.
Step 1: Upload Your Source Photo
Log into your account and navigate to the home dashboard. Locate and select the Avatar IV option (often promoted as "Photo to Video" or accessible via the tools menu).
Click the upload area to import your image.
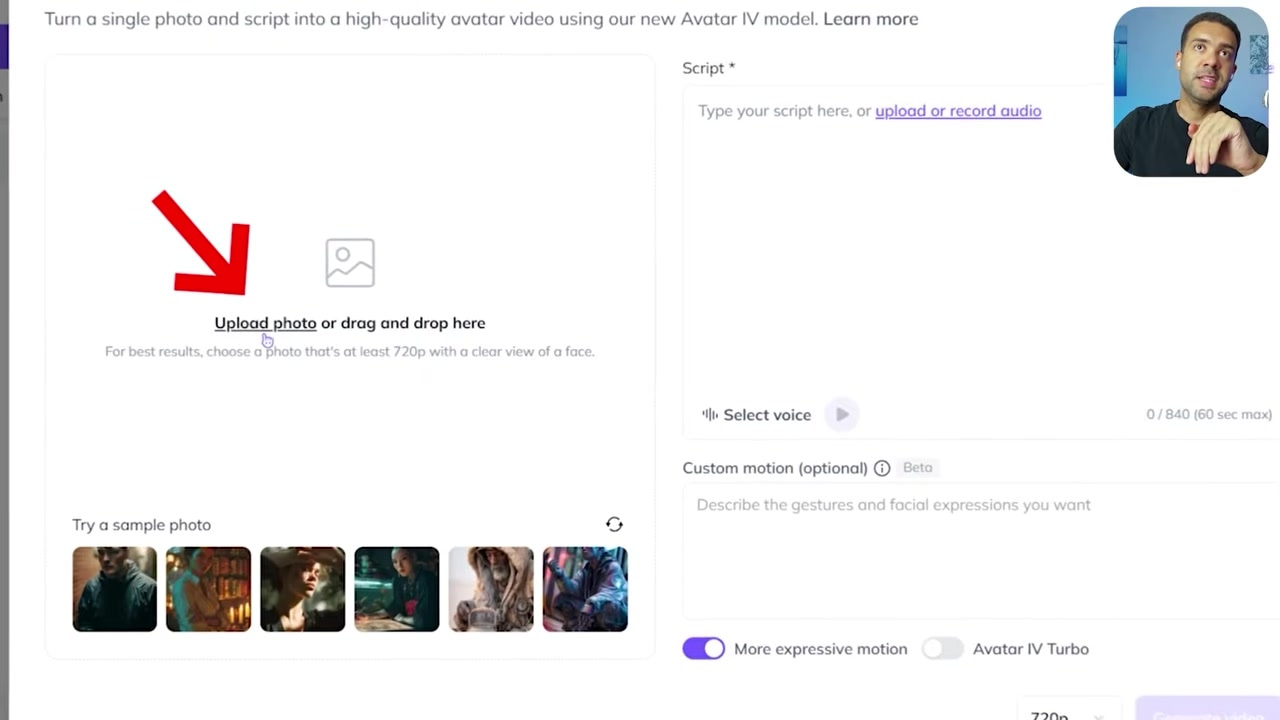
Caption: The main dashboard interface where you upload your static portrait or character photo.
Note: For the crispest output, always upload a high-resolution, sharp portrait. Avoid blurry, pixelated, or heavily compressed photos to prevent visual artifacts in the finished render.
Step 2: Configure Your Voice or Script
Once your photo is uploaded, you must define what the avatar will say. You have two options in the voice configuration panel:
- Text-to-Speech: Type your script directly into the text box and browse through dozens of built-in AI voices. You can also utilize the built-in voice cloner to synthesize your own voice for future scripts.
- Audio Upload: If you want a perfectly authentic performance, record your voice externally and upload the file (MP3 or WAV). The AI will analyze the vocal cadence and timing to sync the avatar.
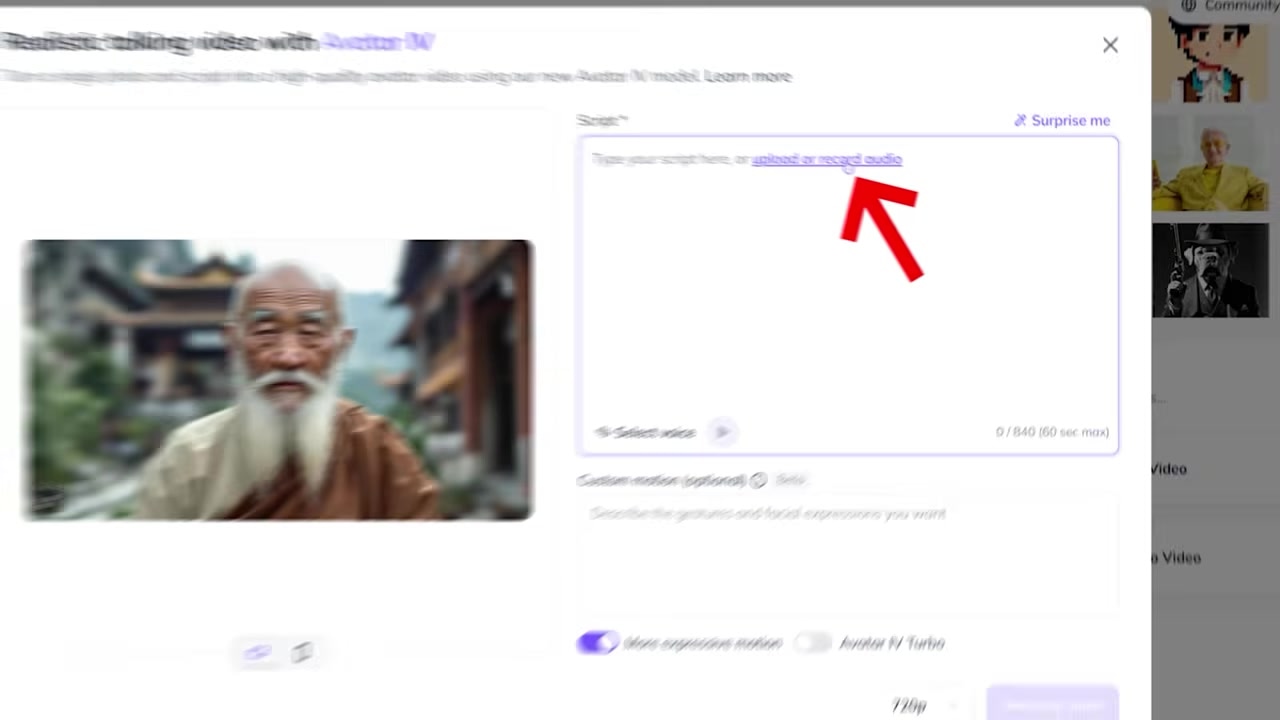
Caption: The script area allows you to choose from pre-set voices, clone your own, or upload an external audio file.
Step 3: Master the Gesture Controls
This is where you can make your avatar look genuinely human rather than a stiff, animated cutout. Avatar IV offers two distinct gesture control options:
- Automatic Mode: Leave the manual prompt box blank. The AI will automatically assign natural, context-appropriate movements, head tilts, and micro-expressions based on the rhythm and tone of your audio.
- Manual Mode: Type specific physical behaviors into the instruction box to guide the model's physical performance.
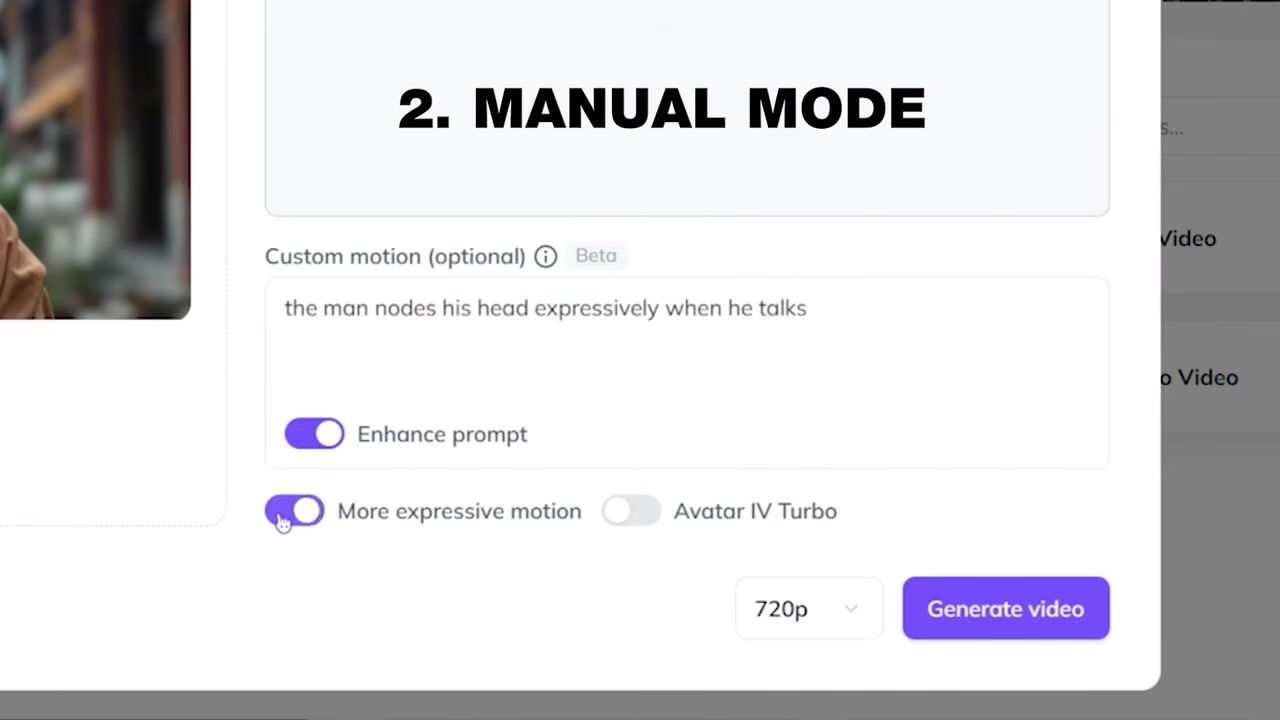
Caption: Fine-tuning the avatar's movement prompts and disabling Turbo mode to ensure natural gestures.
Pro-Tips for Lifelike Gestures:
- Use the Word "Expressively": When writing your movement instructions, always include the word expressively. For example: "The man nods his head expressively when he talks" or "The person expressively moves their arms and hands." This simple modifier triggers more pronounced and realistic physical behaviors.
- Keep "Enhance Prompt" Enabled: Always leave this checkbox active to let the underlying AI clean up and optimize your instructions for the movement engine.
- Turn Off "Avatar IV Turbo": While Turbo mode renders your video three times faster, it heavily compromises facial expression and body movement, resulting in a much more static avatar. If you want maximum expressiveness, make sure to turn Turbo off.
Step 4: Choose Your Quality and Generate
Select 1080p from the output quality options to ensure a crisp, high-definition presentation. Click Generate. The processing takes roughly two minutes, after which your finalized video will be ready to preview, download, and share.
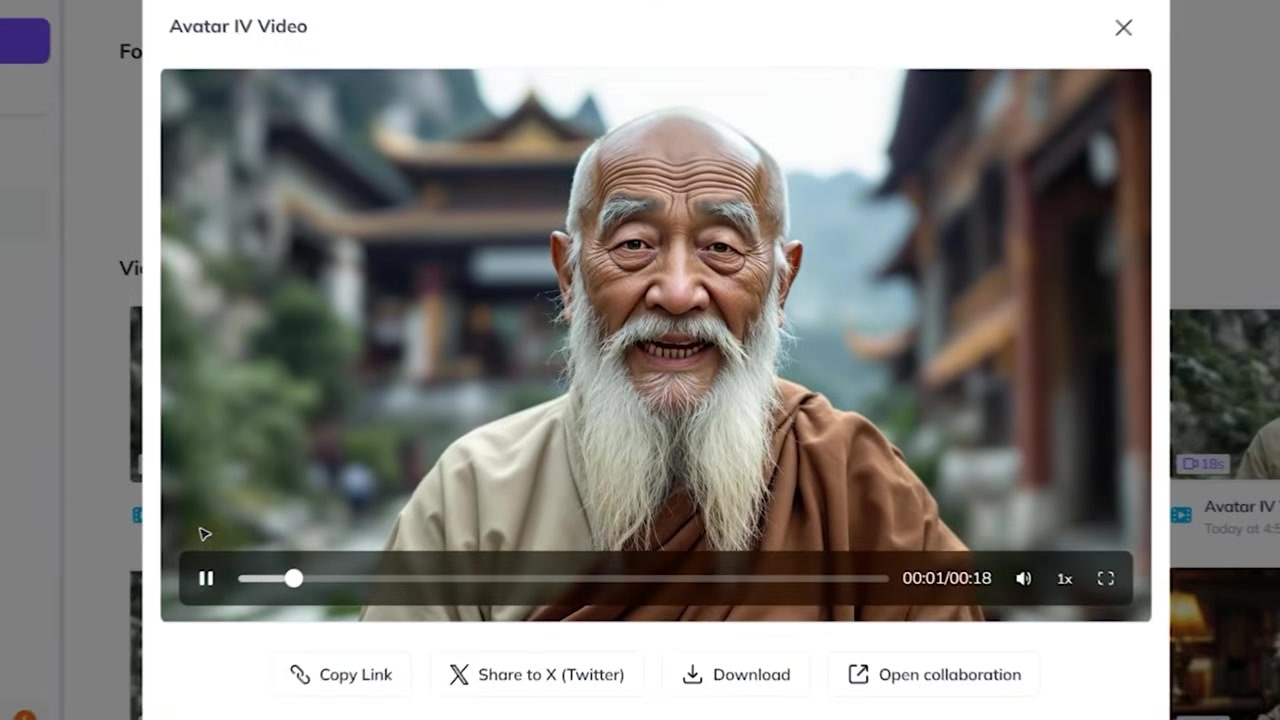
Caption: Previewing the completed, highly realistic talking video after generation completes.
4 Profitable Ways to Monetize AI Talking Avatars
Once you master the creation process, there are several highly practical ways to leverage this technology for business, marketing, or freelance revenue.
1. Emotional Family Content & Historical Preservation
You can take old, historical, or damaged family photographs and breathe life into them. Animating deceased ancestors to speak heartfelt messages or recite historical diaries is a deeply touching service that families are willing to pay a premium for.
2. Scalable Product Advertising
Hiring actors, renting studios, and filming product advertisements is exceptionally expensive. By pairing AI-generated product model images with Avatar IV, you can create custom brand spokespeople in seconds. This allows you to scale ad variations across TikTok, Meta, and YouTube without additional overhead.
3. Animated Storytelling and Characters
Bring fictional characters, book illustrations, cartoons, or even pets and brand mascots to life. This is highly effective for launching educational YouTube channels, producing engaging children's stories, or building social media presences around fictional personalities.
4. Scalable Social Media Cloning
If you are a content creator, you can easily clone your own likeness. By uploading a single photo of yourself in your standard recording environment and pairing it with a simple audio recording captured on your phone from anywhere in the world, you can publish high-quality video updates without ever needing to set up your physical camera rig.
Create Your First AI Talking Photo
Ready to build your first high-definition talking avatar?
Try it here: Try HeyGen →
Frequently Asked Questions
Can I animate non-human images using Avatar IV?
Yes. The model is highly versatile and works on stylized characters, 3D renders, cartoon illustrations, and even pets or animals.
Why does my avatar look stiff or barely move?
This is usually caused by having "Avatar IV Turbo" turned on. While Turbo mode generates videos three times faster, it significantly limits physical and facial movement. For dynamic head tilts and hand gestures, turn Turbo off and use explicit prompts containing the word "expressively."
What image resolution is recommended for the best results?
Always use the highest resolution portrait available. Blurry, low-light, or heavily compressed files will result in noticeable distortion and pixelation around the mouth and eyes during generation.